Getting great results from a trail camera is less about the kit and more about how you set it up. Get the height, angle and settings right and you will capture clear, well-timed shots instead of blurry blanks. Here is how to do it, step by step.
What you will need
Your trail camera, a set of batteries, a microSD card and a way to mount it, either the built-in strap or a bracket. If you do not have spares to hand, you will find memory cards, mounting brackets and more in our accessories collection.
Step 1: Fit the batteries and memory card
Insert fresh batteries the right way round, then slide in a microSD card that is within the size your camera supports. Format the card in the camera before first use so it records reliably.
Step 2: Set the date, time and mode
Set the correct date and time so your images are stamped accurately, this matters for both wildlife records and security. Then choose your mode: photo, video or both, and set the photo burst or video length to suit what you are capturing.
Step 3: Choose the right height and angle
For most wildlife, mount the camera around knee to waist height (roughly 45 to 90 cm). Point it slightly downward and avoid aiming straight at sunrise or sunset, which can wash out images. For security, mount it higher and angle it across the area you want to cover.
Step 4: Mount it securely
Strap the camera firmly to a solid tree or post so it does not sway in the wind, which can cause false triggers. A sturdy outdoor mounting bracket makes it easy to get the exact angle you want and keeps the camera rock steady.
Step 5: Clear the field of view
Trim back branches, tall grass and leaves in front of the lens. Moving vegetation is the number one cause of empty, false-triggered photos that drain your battery and fill your card.
Step 6: Test before you leave
Use the camera's test or walk mode to check the detection zone. Walk across the area at the distance you expect movement and confirm it triggers where you want it to. Adjust the angle if needed.
Step 7: Retrieve and review your images
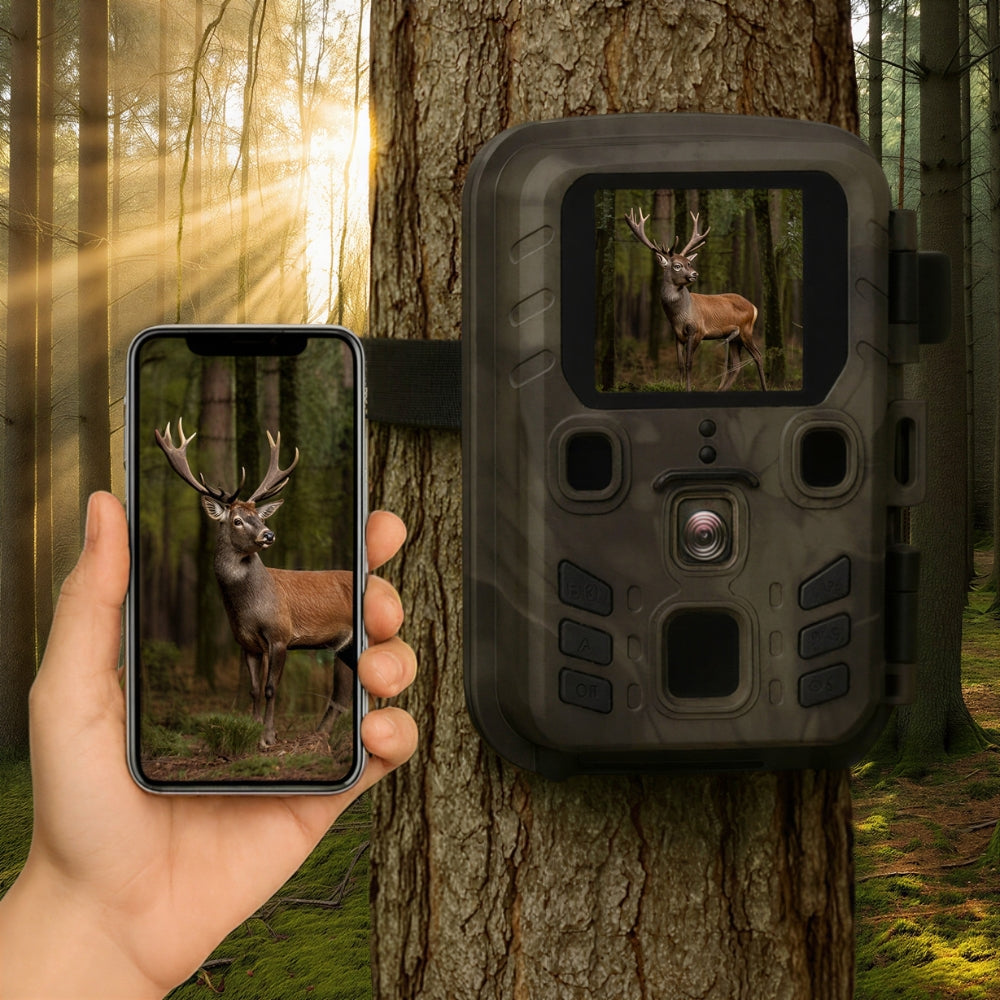
With a standard camera, swap or read the SD card. A handy SD card adapter lets you view footage on your phone without a computer. With a WiFi or 4G model, images come to the app automatically.
Keep it running
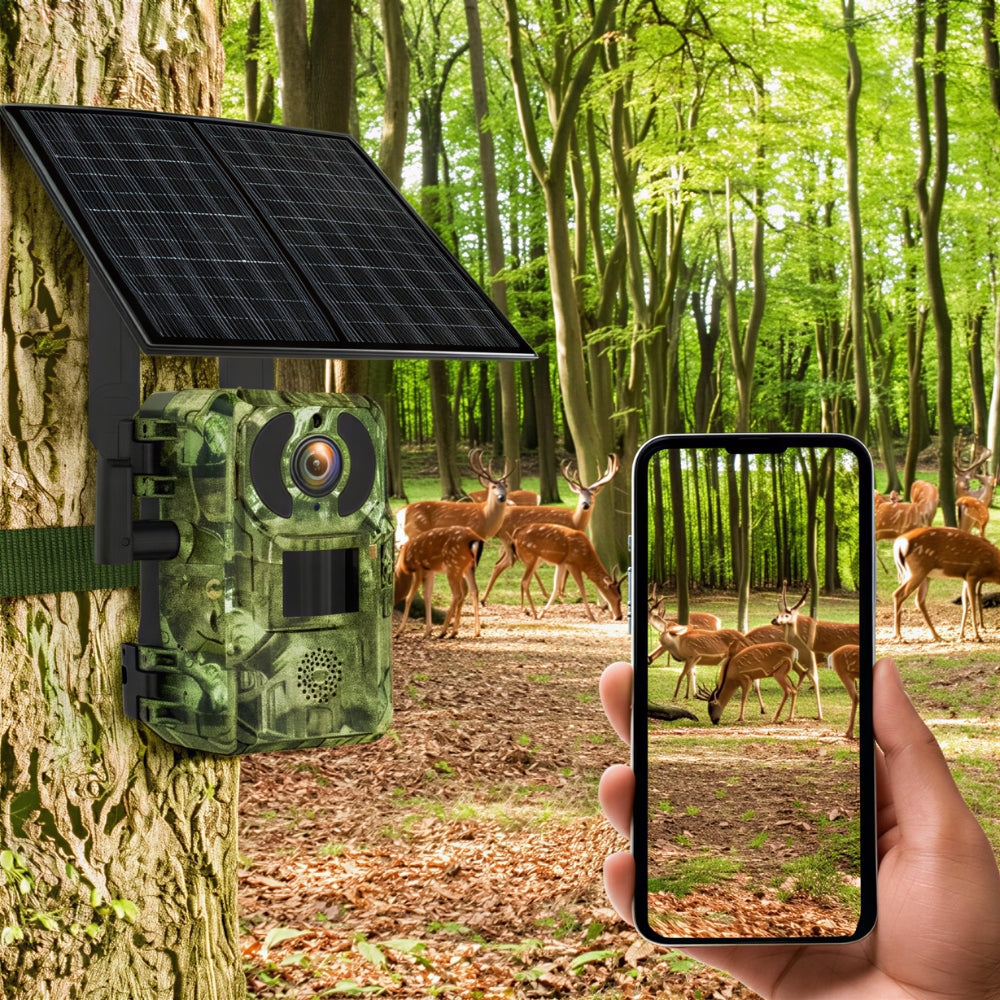
Check batteries and storage regularly, and clean the lens and sensor now and then. For remote spots you cannot visit often, a solar-powered 4G camera keeps itself charged and sends images straight to your phone.
That is it. Take your time on placement and testing, and your trail camera will reward you with sharp, reliable shots for months.